
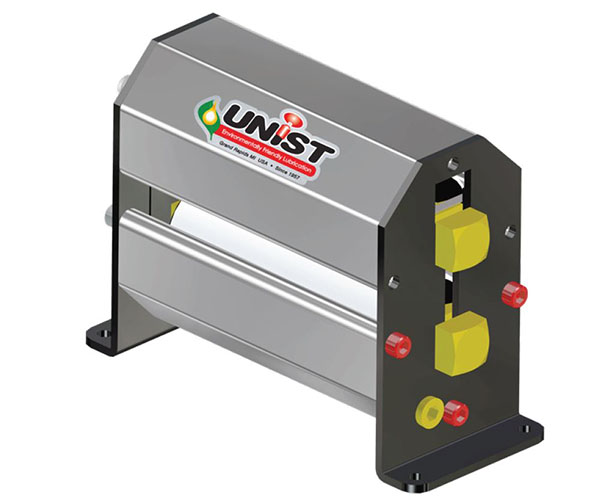
How to change roller covers on a Mini-Roller™ or Vertical Mini-Roller™
See the related video for instructions on how to change your Mini-Roller™covers, or you can follow the steps below.
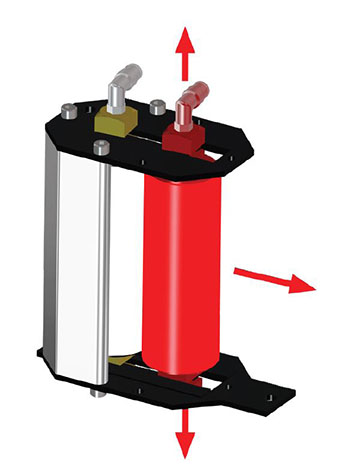
Horizontal Mini Roller™ - Roller Removal
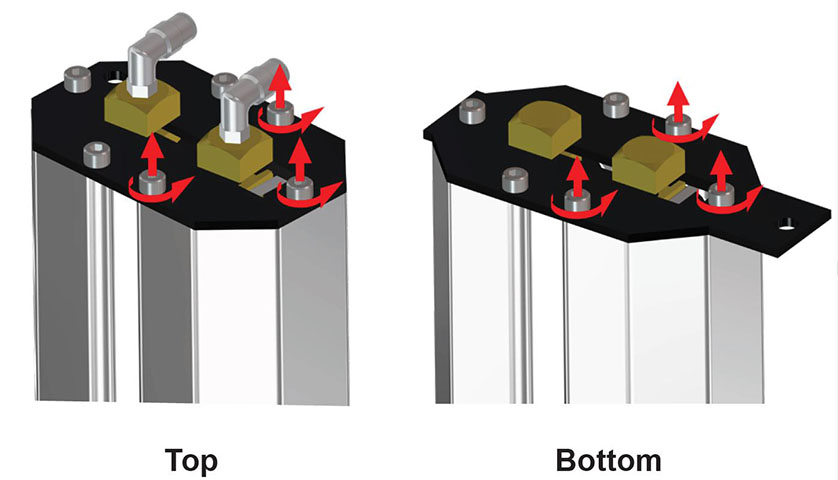
- Remove the top 3 bolts on each endplate.
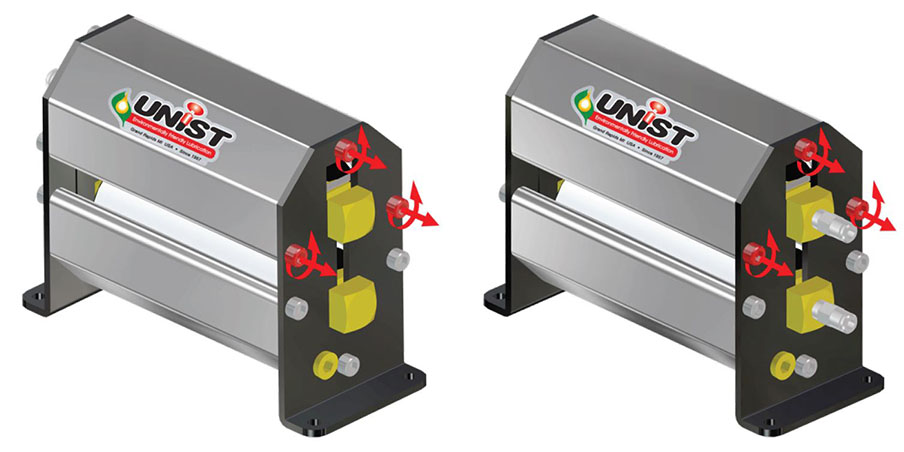
- Loosen the bottom 3 bolts on one endplate.
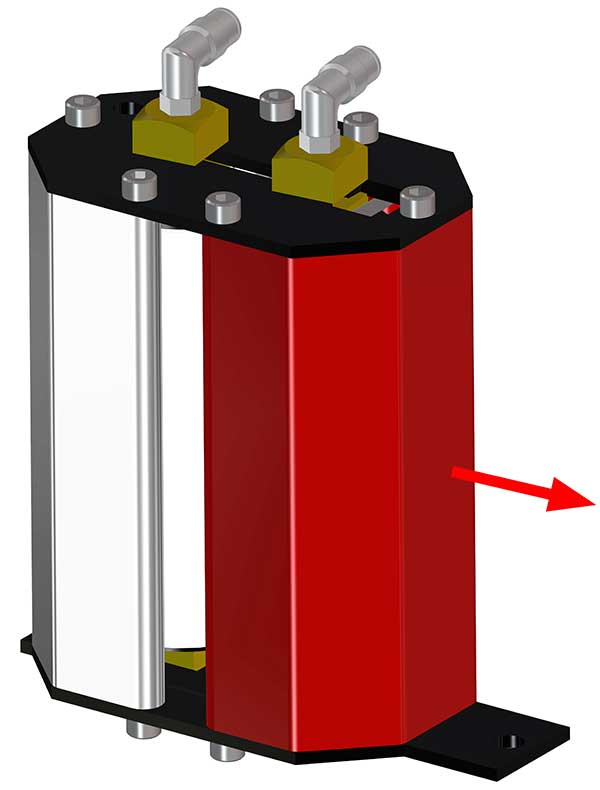
- The top extrusion can now be removed.
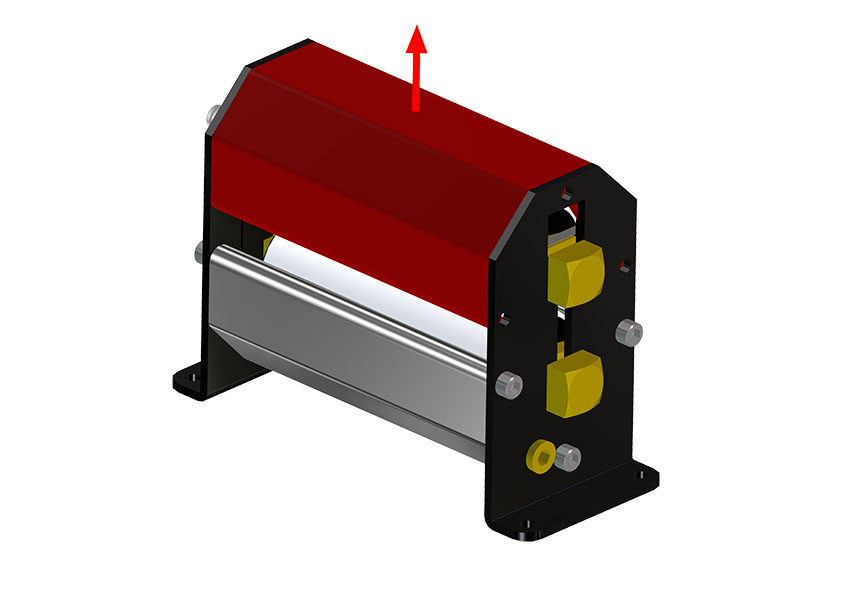
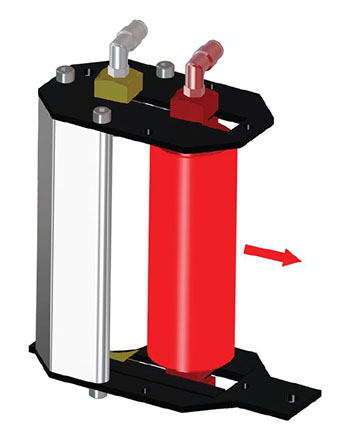
- Simultaneously, slide the upper stub shaft and dispenser tube up toward the square holes in the endplates.
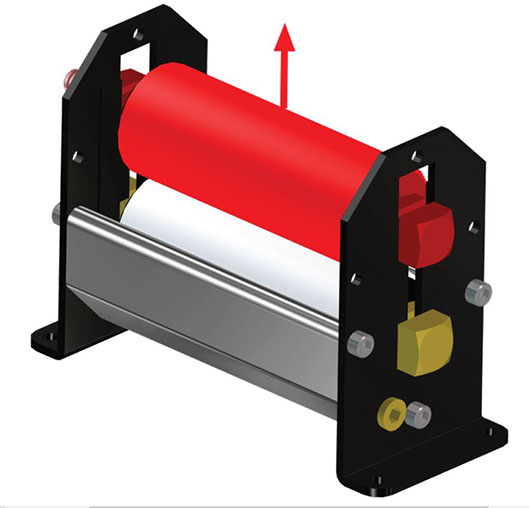
- While holding onto the roller assembly, carefully pull the stub shaft and dispenser tube out through the square holes. Be careful not to lose the compression spring on the stub shaft and dispenser tube. The compression springs hold the roller on center and help ensure the bearings rotate properly. Remove the lower roller in the same way the upper roller was removed.

Vertical Roller - Roller Removal
- Remove the knurled screw that attaches unit to the drip pan.
- Once the unit has been removed from the drip pan, remove the 3 bolts closest to the square holes on each endplate.
- Then loosen the remaining 3 bolts on one of the endplates.

- The loose extrusion can now be removed.
- Simultaneously, slide the stub shaft and dispenser tube for the exposed roller toward the square holes in the endplates.
- While holding onto the roller assembly, carefully pull the stub shaft and dispenser tube out through the square holes. Be careful not to lose the compression spring on the stub shaft and dispenser tube. The compression springs hold the roller on center and help ensure the bearings rotate properly. Remove the lower roller in the same way the upper roller was removed.
Endcap and bearing Replacement
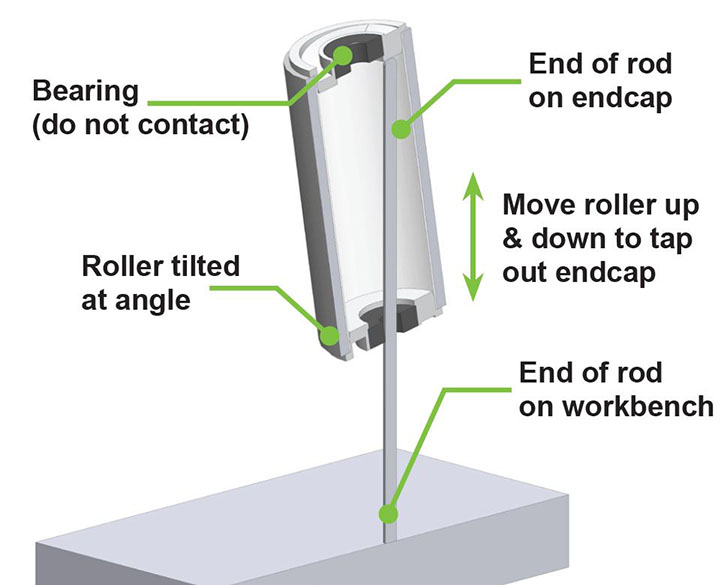
With the roller assembly removed as outlined above, next remove roller end caps by inserting a wooden or brass dowel into the roller assembly, positioning one end so that it is contacting the inside surface of the opposite roller end. Be sure the dowel is not contacting the bearing or the magnet (if applicable).
Place the exposed end of the dowel or rod onto a work bench and carefully move the roller up and down, tapping on the inside surface of the top end cap, being careful to keep the roller tilted at an angle so that the bearing is not damaged. This process can be repeated to remove the other end cap.
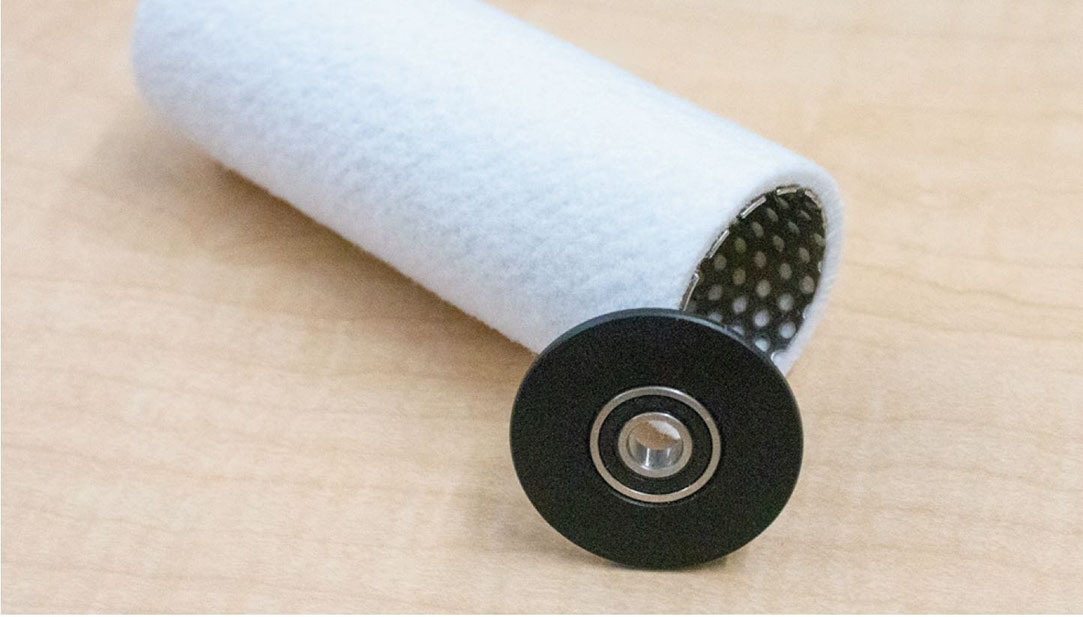
Insert the roller endcaps into the new roller/perforated tube assembly and gently tap them into position with a soft face hammer, ensuring that they are fully seated into the perforated tube inside the roller.

Replace or Clean Dispenser tubes
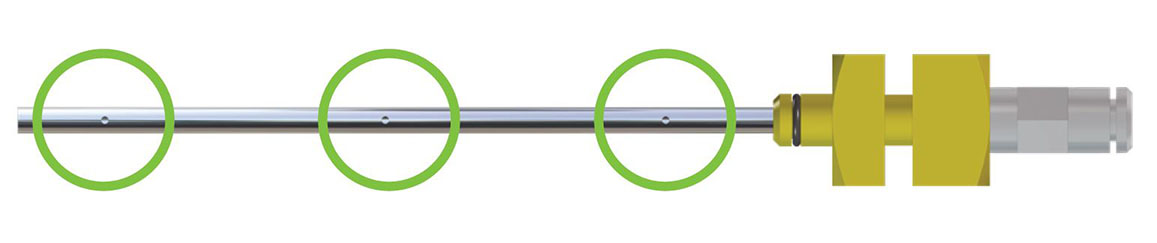
To ensure proper fluid delivery, the dispenser tubes inside of the rollers must be clean and free of debris. Occasional inspection, cleaning, and replacing is required. The dispenser tubes should always be inspected when the roller covers are changed and serviced as needed.
Visually inspect all holes in the dispenser tubes for debris or blockages. Use compressed air to blow out debris and ensure that air is coming out of every hole. If there are blocked holes, replace the dispenser tube.
Reinstallation
Install the new roller assemblies back into the system in the reverse order they were taken out. Important: Ensure the holes in the dispenser tubes are facing up!